Blog
The Ultimate Guide to Drip Irrigation for Your Vegetable Garden
Save water, save time, and grow healthier plants by installing a simple drip irrigation system in your vegetable garden this season.
2026-05-12
As the May sun gets stronger and the days grow longer, watering the garden can quickly transition from a peaceful morning ritual to a demanding daily chore. If you are tired of dragging heavy hoses around, accidentally spraying the leaves of your tomatoes, or worrying about your plants drying out while you're at work, it is time to talk about the ultimate garden upgrade: drip irrigation.
Setting up a drip irrigation system might sound intimidating or expensive, but I promise you, it is one of the easiest and most impactful weekend projects you can tackle. Let's break down why you need it and how to get started.
Why Drip Irrigation is a Game Changer
Overhead watering (using a sprinkler or a hose nozzle) is inefficient. A significant amount of water evaporates before it ever reaches the roots, and water splashing on the leaves can encourage fungal diseases like powdery mildew and early blight—especially on vulnerable crops like tomatoes and squash.
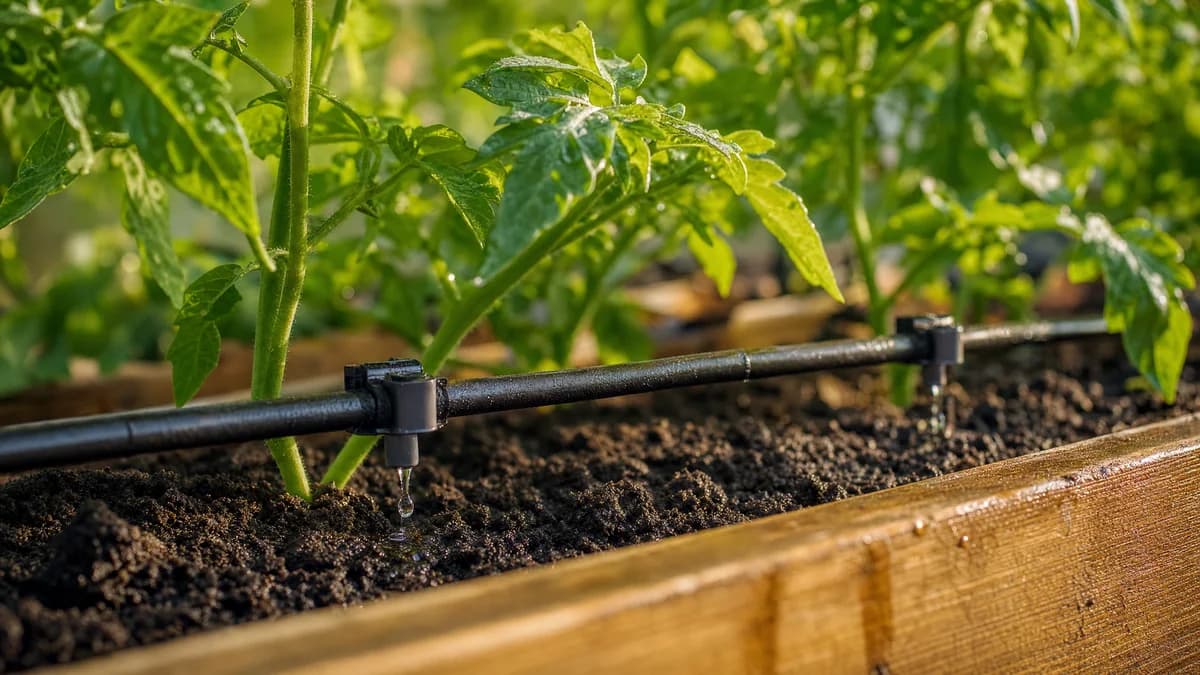
Drip irrigation solves all of this by delivering water slowly and directly to the base of the plant, right where the roots need it.
The Benefits:
1. Massive Water Savings: Drip systems use up to 50% less water than traditional sprinklers by eliminating evaporation and runoff.
2. Healthier Plants: Keeping the foliage dry drastically reduces the risk of soil-borne diseases splashing onto the leaves.
3. Fewer Weeds: Because you are only watering the specific area around your crop, the empty spaces between rows stay dry, starving weed seeds of the moisture they need to sprout.
4. Time Freedom: Pair your system with a simple battery-operated timer, and your garden waters itself. You can go on vacation without begging the neighbors to water your tomatoes!
The Basic Components of a Drip System
You don't need a degree in plumbing to set this up. Most beginner systems snap or push together like building blocks. Here is what a basic setup looks like, starting from your outdoor spigot:
1. The Timer: The brain of the operation. You attach this directly to your spigot.
2. Backflow Preventer: This crucial little piece ensures dirty garden water doesn't get sucked back into your home's clean water supply.
3. Pressure Regulator: Drip systems operate at low pressure. Your house water pressure is too high and will blow the fittings apart without a regulator.
4. Filter: Keeps tiny particles of dirt or rust from clogging the tiny emitters in the drip line.
5. Mainline Tubing (usually 1/2 inch): This is the main artery that carries water from the spigot to your garden beds.
6. Emitter Tubing or Drippers (usually 1/4 inch): These are the smaller lines that branch off the mainline to deliver water directly to individual plants. Emitter tubing has holes built in at set intervals (like every 6 or 12 inches), which is perfect for densely planted raised beds.
Getting Started: A Simple Plan
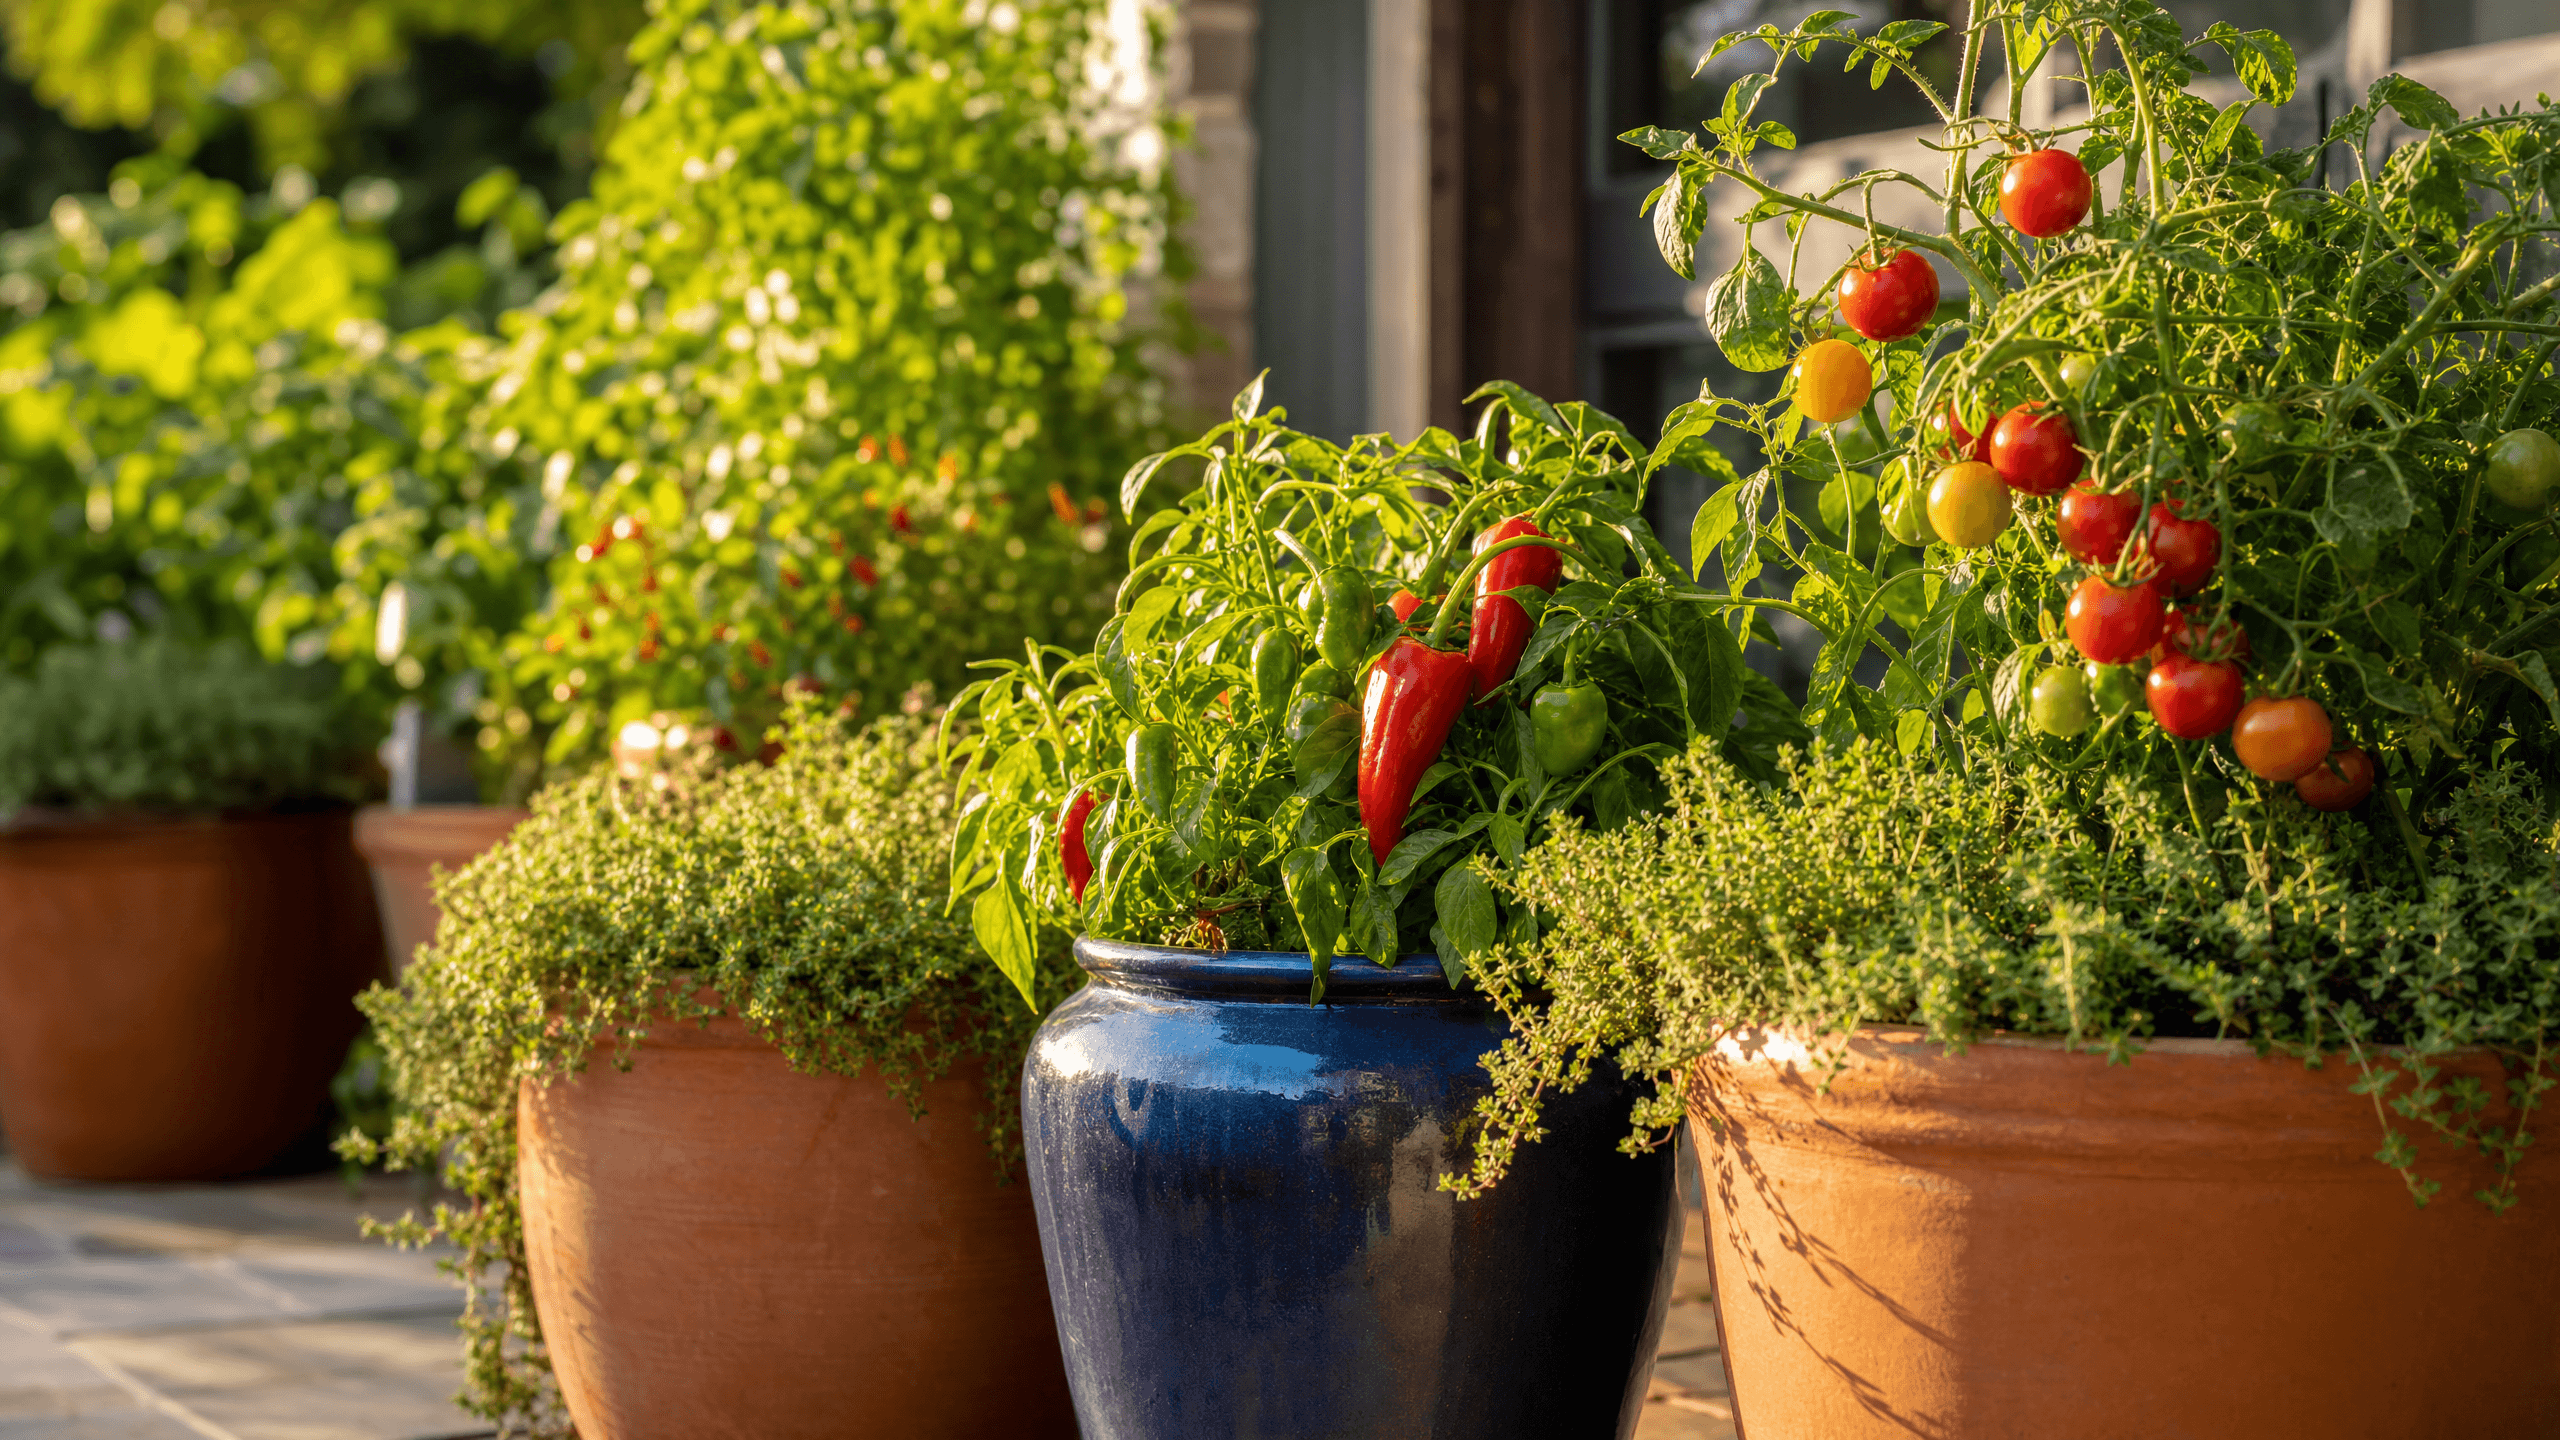
If you are overwhelmed, start small. You don't have to irrigate the entire yard in one weekend. Pick your most high-maintenance raised bed or your thirstiest crops (like cucumbers and tomatoes) and start there.
I highly recommend buying an all-in-one starter kit for your first project. It takes the guesswork out of making sure all the fittings match. The Rain Bird Drip Irrigation Starter Kit is an excellent, reliable choice that includes everything you need to set up a basic system, including the timer.
Installation Tips
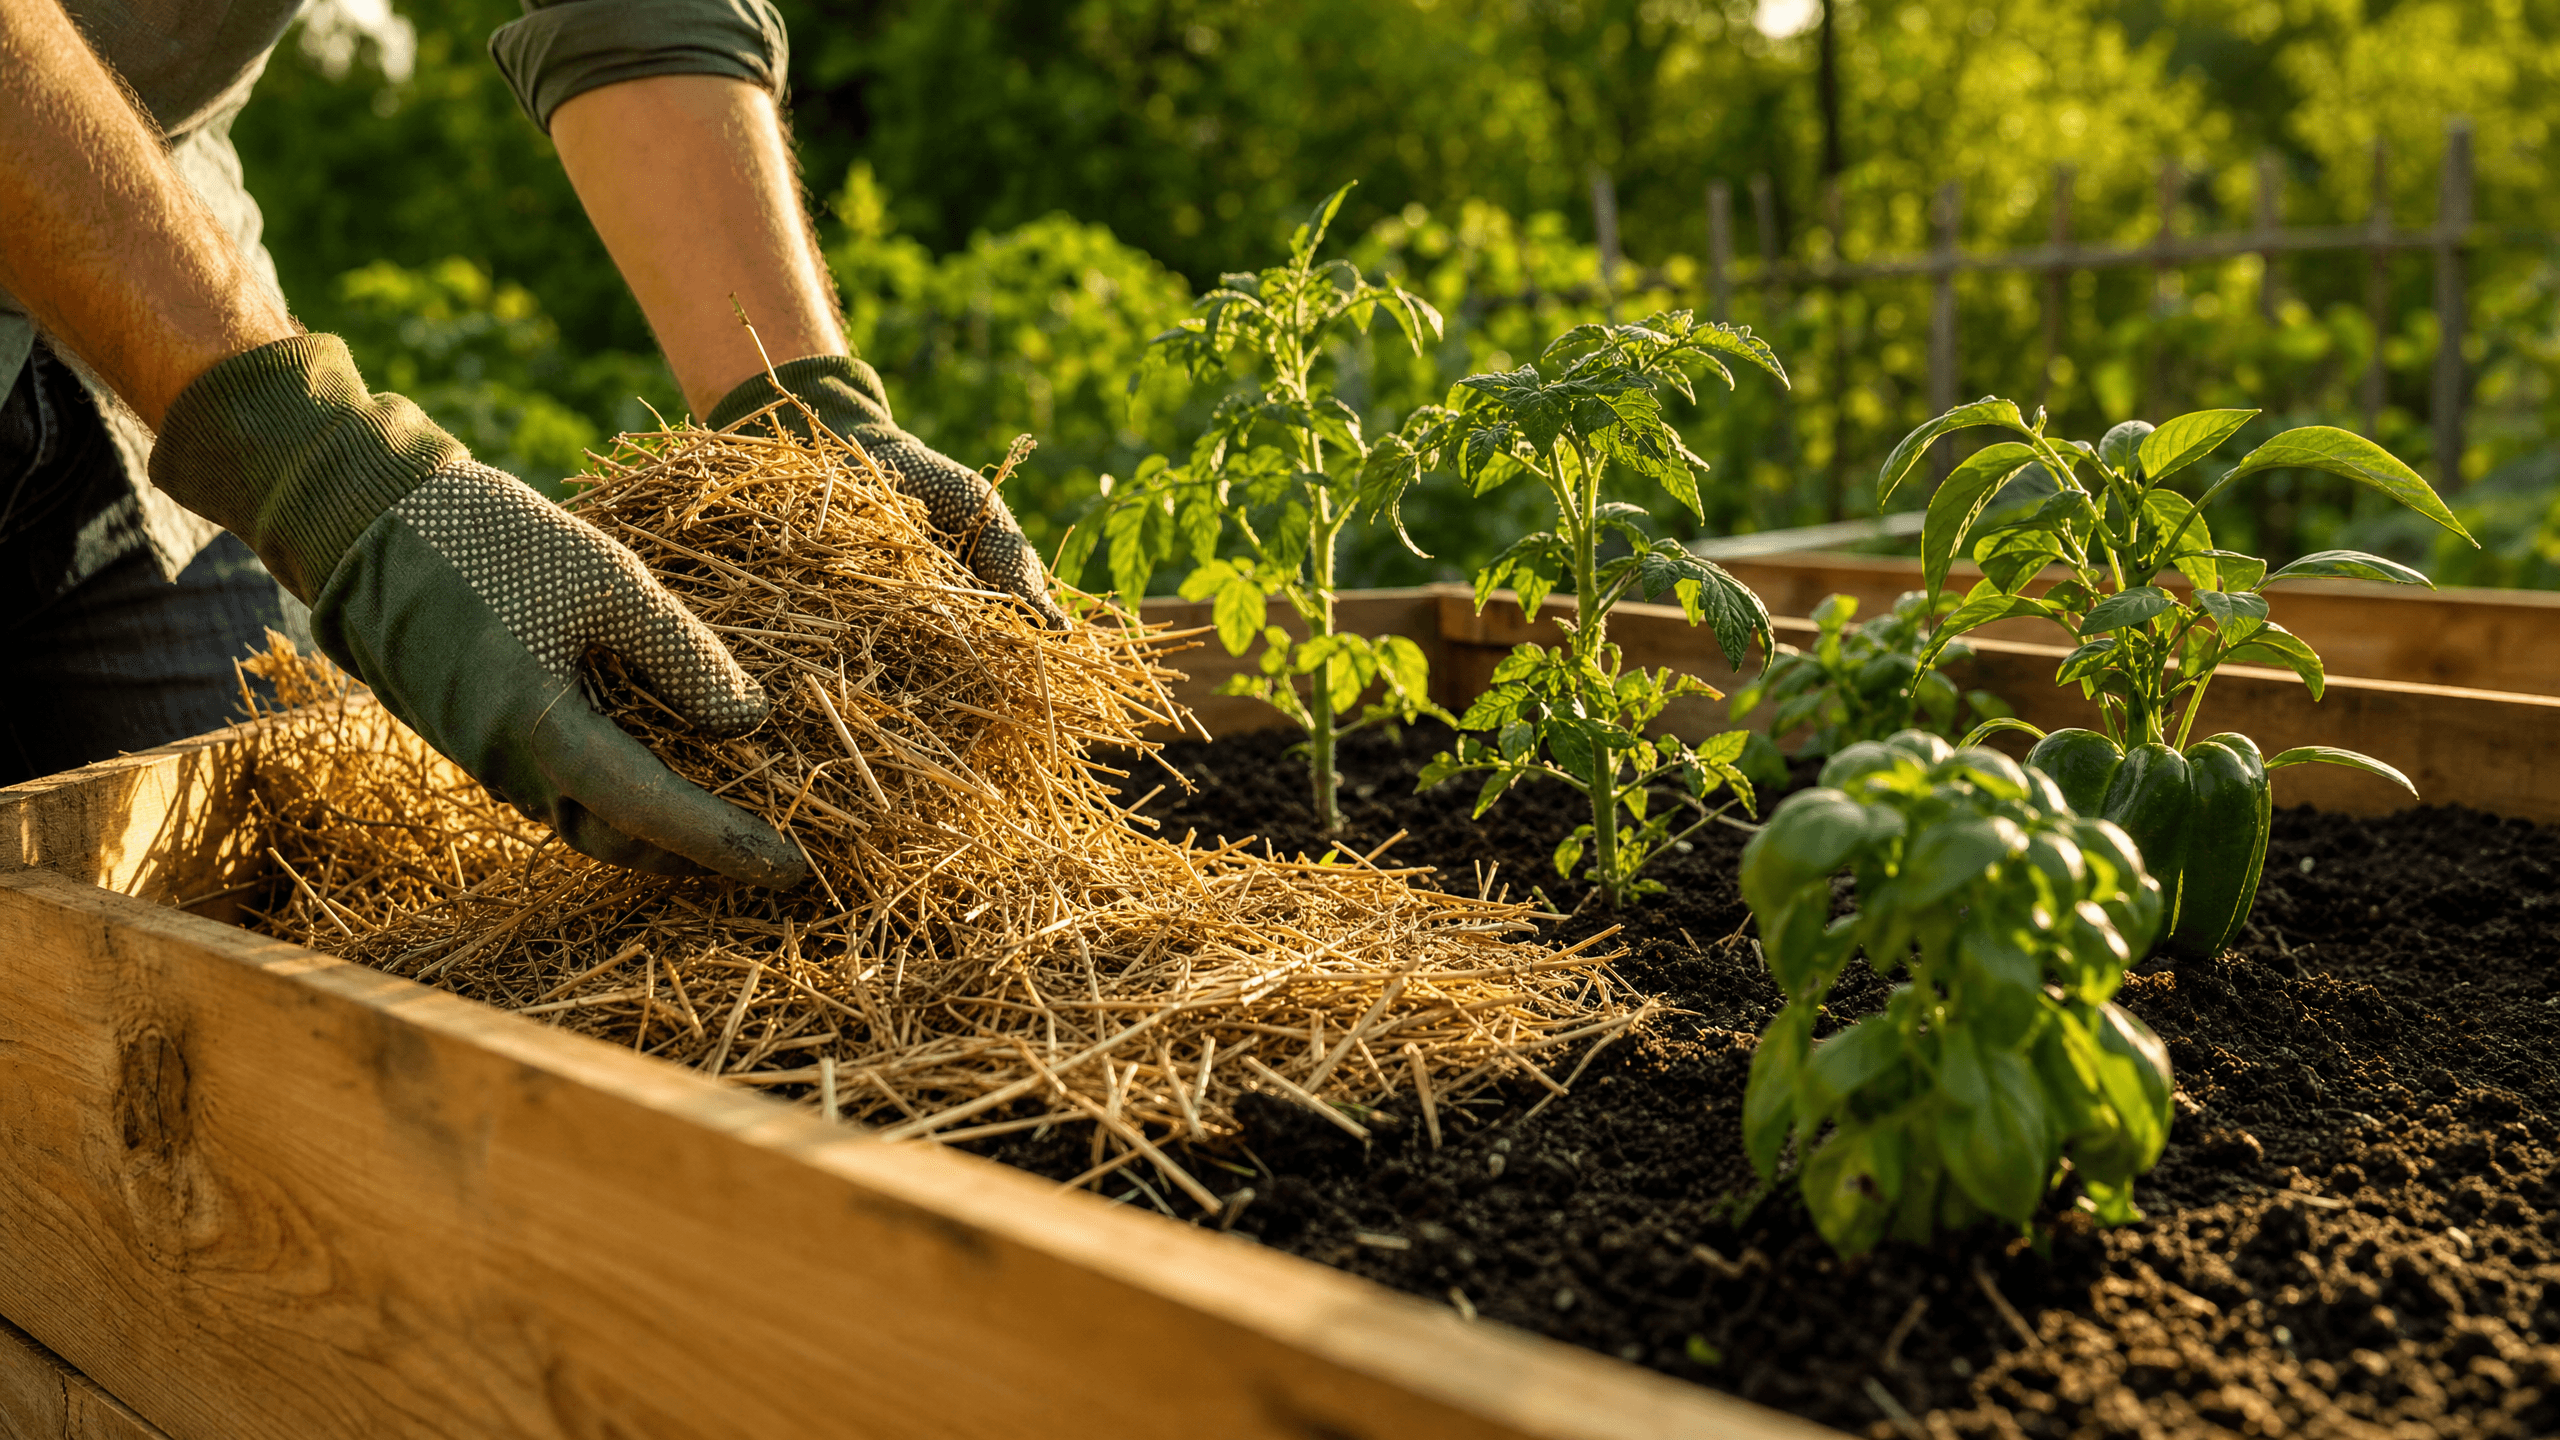
* Lay it out in the sun: Before you try to unroll and cut the stiff 1/2-inch mainline tubing, let it sit in the hot sun for an hour. It will become much softer and easier to work with.
* Use a hole punch: When attaching 1/4-inch lines to the 1/2-inch mainline, use the specific punch tool that comes with your kit. Don't try to use a nail or a drill, as it will leak.
* Cap the ends: Don't forget to buy figure-eight end closures or caps for the ends of your mainline tubing, otherwise the water will just shoot right out the end!
FAQ
Q: How long should I run my drip irrigation system?
A: This depends heavily on your soil type, weather, and the flow rate of your emitters. A good starting point is 30 to 45 minutes, two to three times a week. Dig down a few inches after watering; the soil should be moist but not soggy. Adjust your timer as needed.
Q: Can I bury the drip lines?
A: It is generally best to leave the lines on the surface of the soil and cover them with a layer of mulch. Burying them in the soil can lead to roots clogging the emitters or dirt getting sucked in. Mulch hides the ugly plastic lines and helps retain the moisture even further.
Q: Do I need to take it apart in the winter?
A: If you live in an area with hard freezes, you should definitely disconnect the timer, filter, and pressure regulator and bring them indoors. You can leave the tubing in the garden, but make sure you open the end caps to let all the water drain out so the expanding ice doesn't crack the plastic.
*Disclosure: As an Amazon Associate I earn from qualifying purchases.*
Ready to Design?
Upload a photo of your space and get beautiful, personalized design ideas in seconds.
Keep reading
Seasonal planting reminders and expert guides — free.