Blog
Mid-May Tomato Transplanting: Setting Your Summer Garden Up for Success
Master the art of transplanting tomatoes in mid-May. Learn expert tips for deep planting, hardening off, and early care to ensure a massive summer harvest.
2026-05-15
Welcome back to the garden, friends! Mid-May is finally here, and for many of us, that means the soil has warmed up, the danger of frost has passed, and it's time for the main event: getting those tomato seedlings into the ground. Whether you've lovingly raised them from seed on your windowsill or picked up some robust starts from the local nursery, how you handle this transition makes all the difference for your summer harvest.
As a master gardener, I often get asked what the "secret" is to towering tomato plants loaded with fruit. The truth is, it all starts on planting day. Let's walk through the exact steps I use in my own garden to give these heat-loving plants the best possible start.
The Importance of Hardening Off
Before your tomatoes ever touch the garden soil, they need a proper introduction to the great outdoors. This process, called "hardening off," is crucial. Indoor-grown seedlings are used to stable temperatures, gentle breezes from a fan, and filtered light. If you plop them directly into the harsh mid-May sun and wind, they will suffer from shock, sunburn, or even die.
Start this process about a week before your target planting date. Place your seedlings in a sheltered, shady spot outdoors for just a couple of hours the first day. Gradually increase their time outside and their exposure to direct sunlight over the course of 7 to 10 days. By the end of this period, they should be spending the whole day in the sun and staying out overnight (provided temperatures stay above 50°F or 10°C).
Preparing the Perfect Planting Hole
Tomatoes are heavy feeders and they love rich, well-draining soil. I like to dig a hole that's significantly deeper and wider than the pot the seedling is currently in.
Once the hole is dug, I always amend the soil at the bottom. A generous handful of high-quality compost is a must. I also like to add a balanced organic fertilizer. If you struggle with blossom end rot (those dreaded black spots on the bottom of your tomatoes later in the season), adding a calcium source like crushed eggshells or a specific tomato fertilizer with added calcium right into the planting hole can be a game-changer.
*Need a good fertilizer to get started? I highly recommend the Espoma Organic Tomato-tone Fertilizer for consistent, slow-release nutrition.*
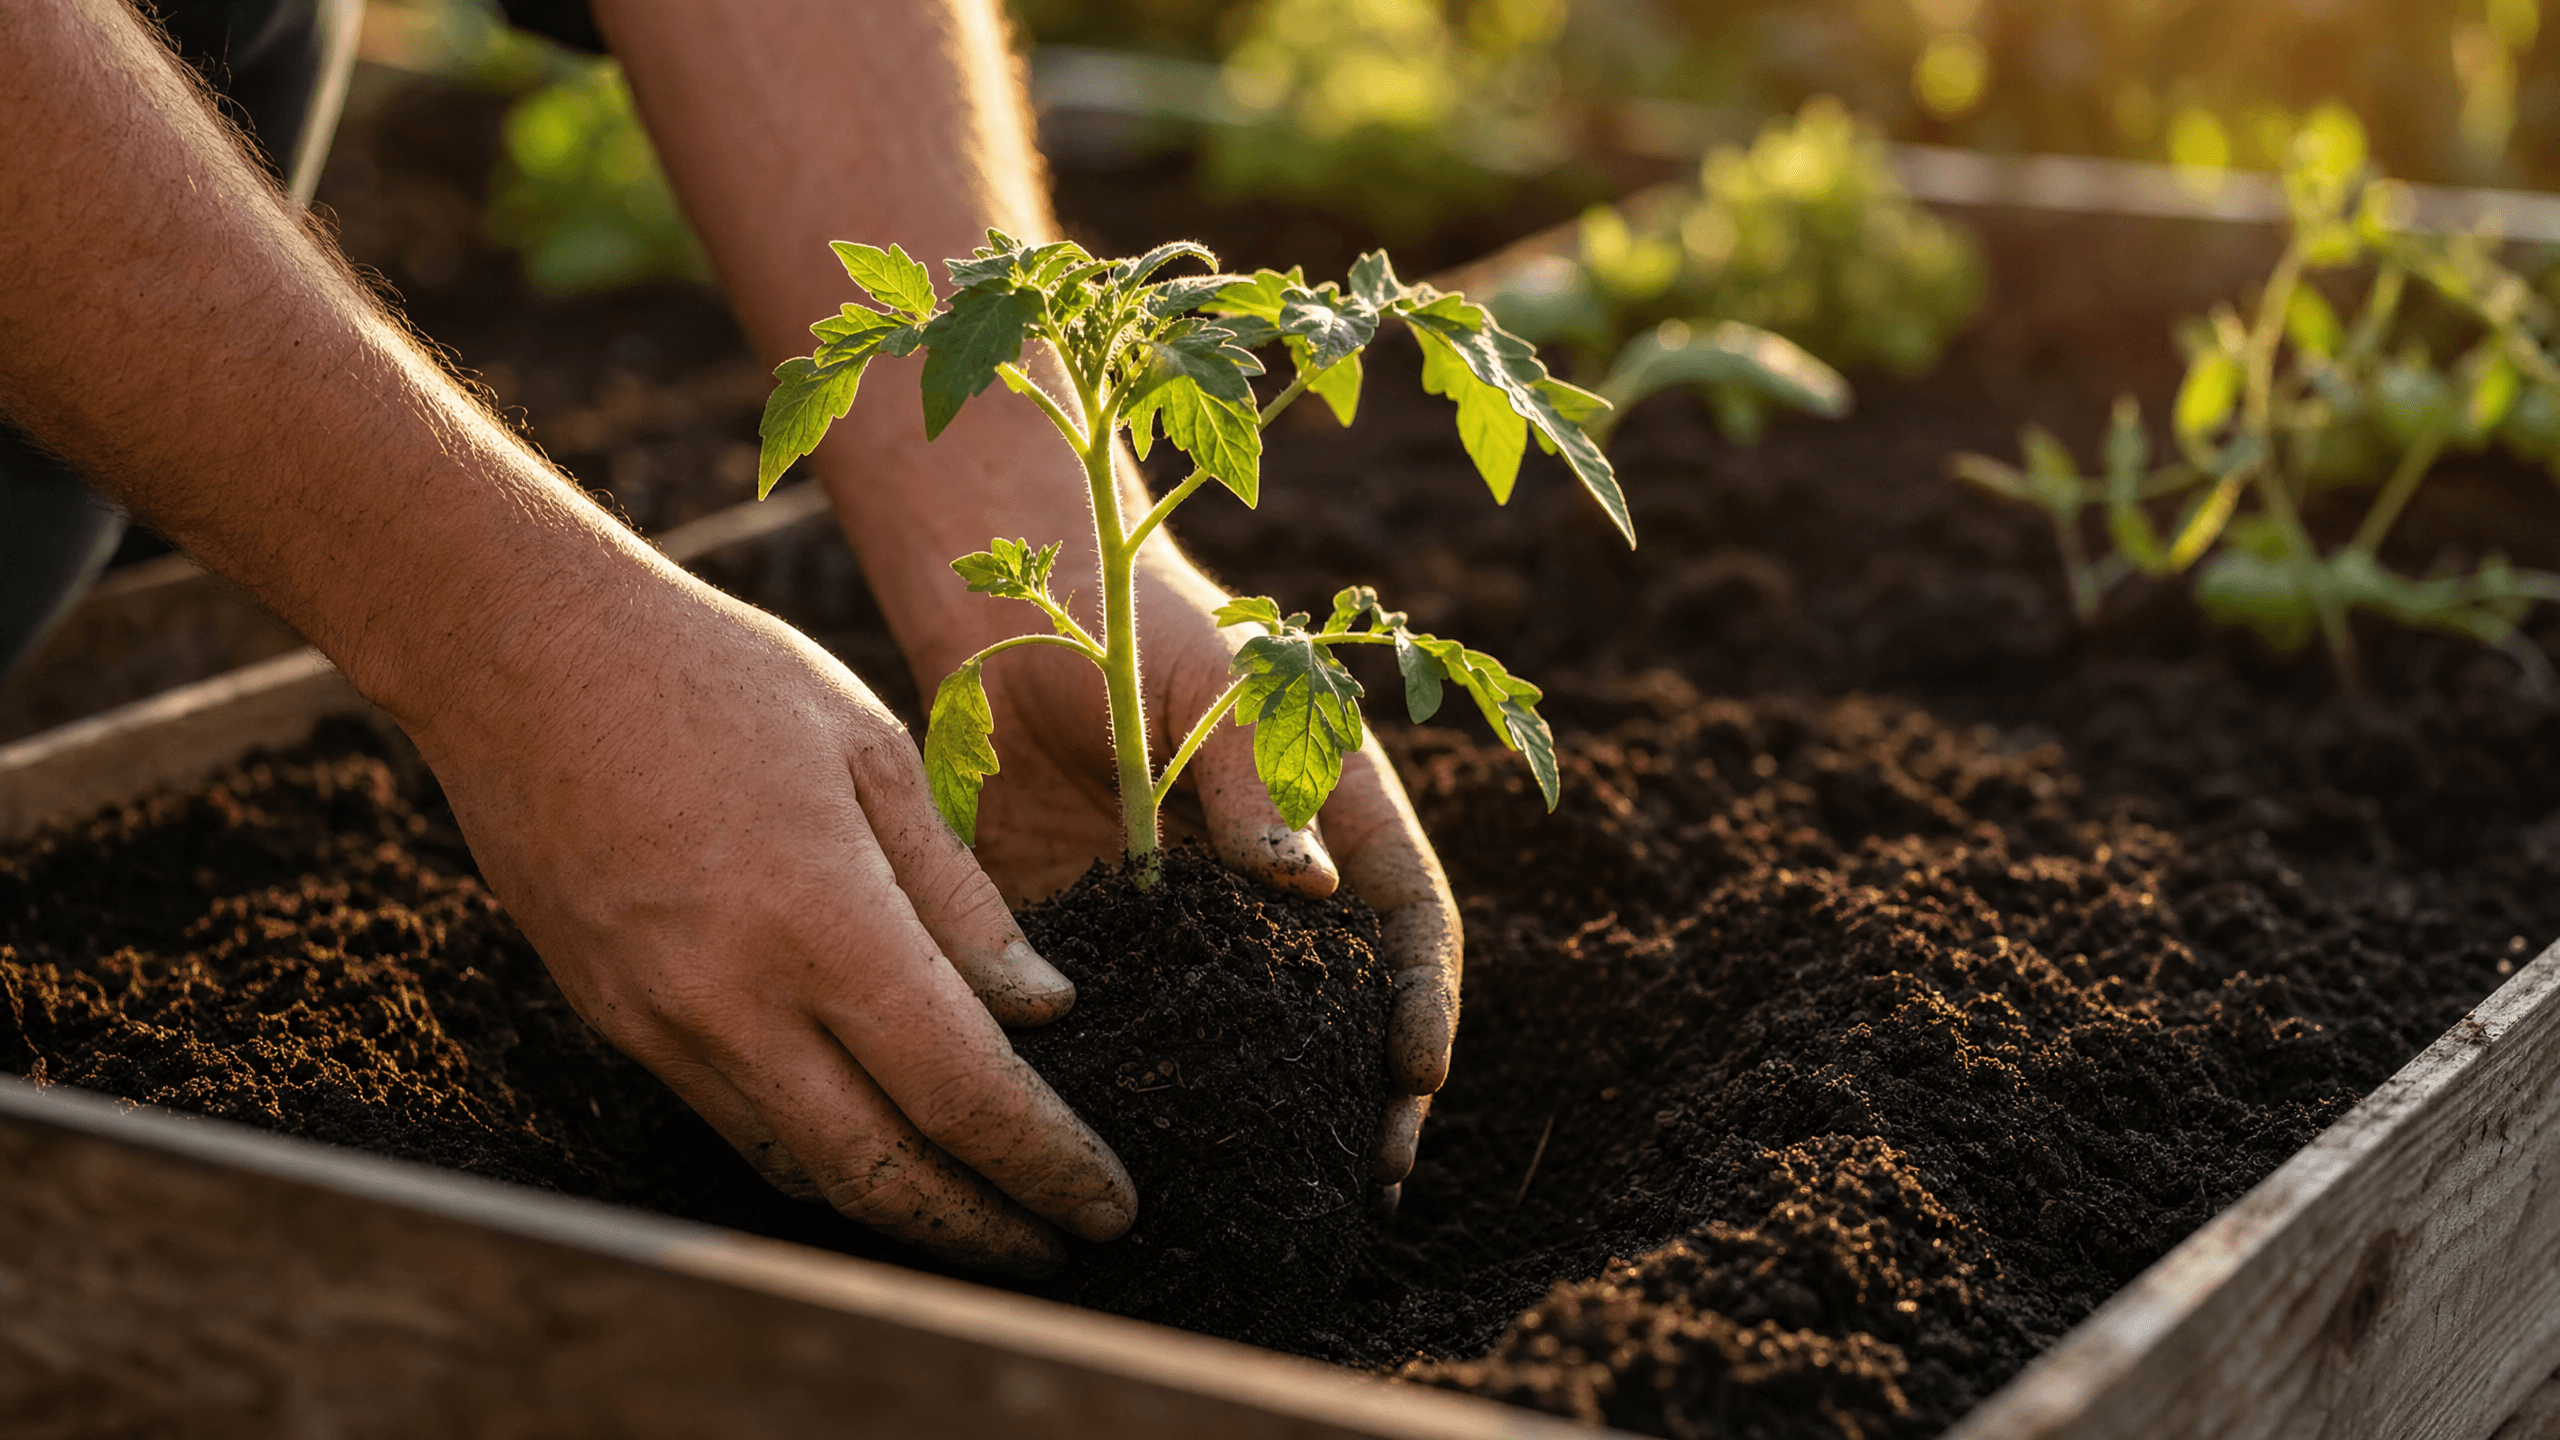
The Deep Planting Technique
Here is the most important tip I can give you for transplanting tomatoes: plant them deep.
Unlike most other vegetables, tomatoes have the incredible ability to grow roots all along their main stem if it's buried in soil. More roots mean a stronger foundation, better access to water deep in the soil during hot summer days, and a sturdier plant that can hold up a heavy load of fruit.
1. Pinch off the bottom leaves: Carefully remove the lowest sets of leaves from the seedling, leaving just the top tuft of healthy foliage.
2. Bury the stem: Place the plant in your prepared hole so that the soil level comes right up to the bottom of those remaining leaves. Yes, you might be burying 50% to 75% of the plant!
3. Trenching (Alternative): If your soil is very heavy clay or you can't dig deep, you can lay the plant on its side in a shallow trench, carefully bending the top portion upward. The buried stem will still develop a massive root system.
Watering In and Early Support
Once your tomato is nestled in its new home, backfill the soil and press it down gently to remove large air pockets. Now, it's time for a deep, thorough watering. This settles the soil around the roots and helps the plant recover from transplant shock. Water at the base of the plant, avoiding splashing the leaves, which can invite fungal diseases.
Finally, put your support system in place immediately. Whether you prefer heavy-duty cages, stakes, or a Florida weave system, install it now. Trying to wrestle a cage over a 3-foot-tall tomato plant later in June is a recipe for broken branches and frustration. Get it done on planting day!
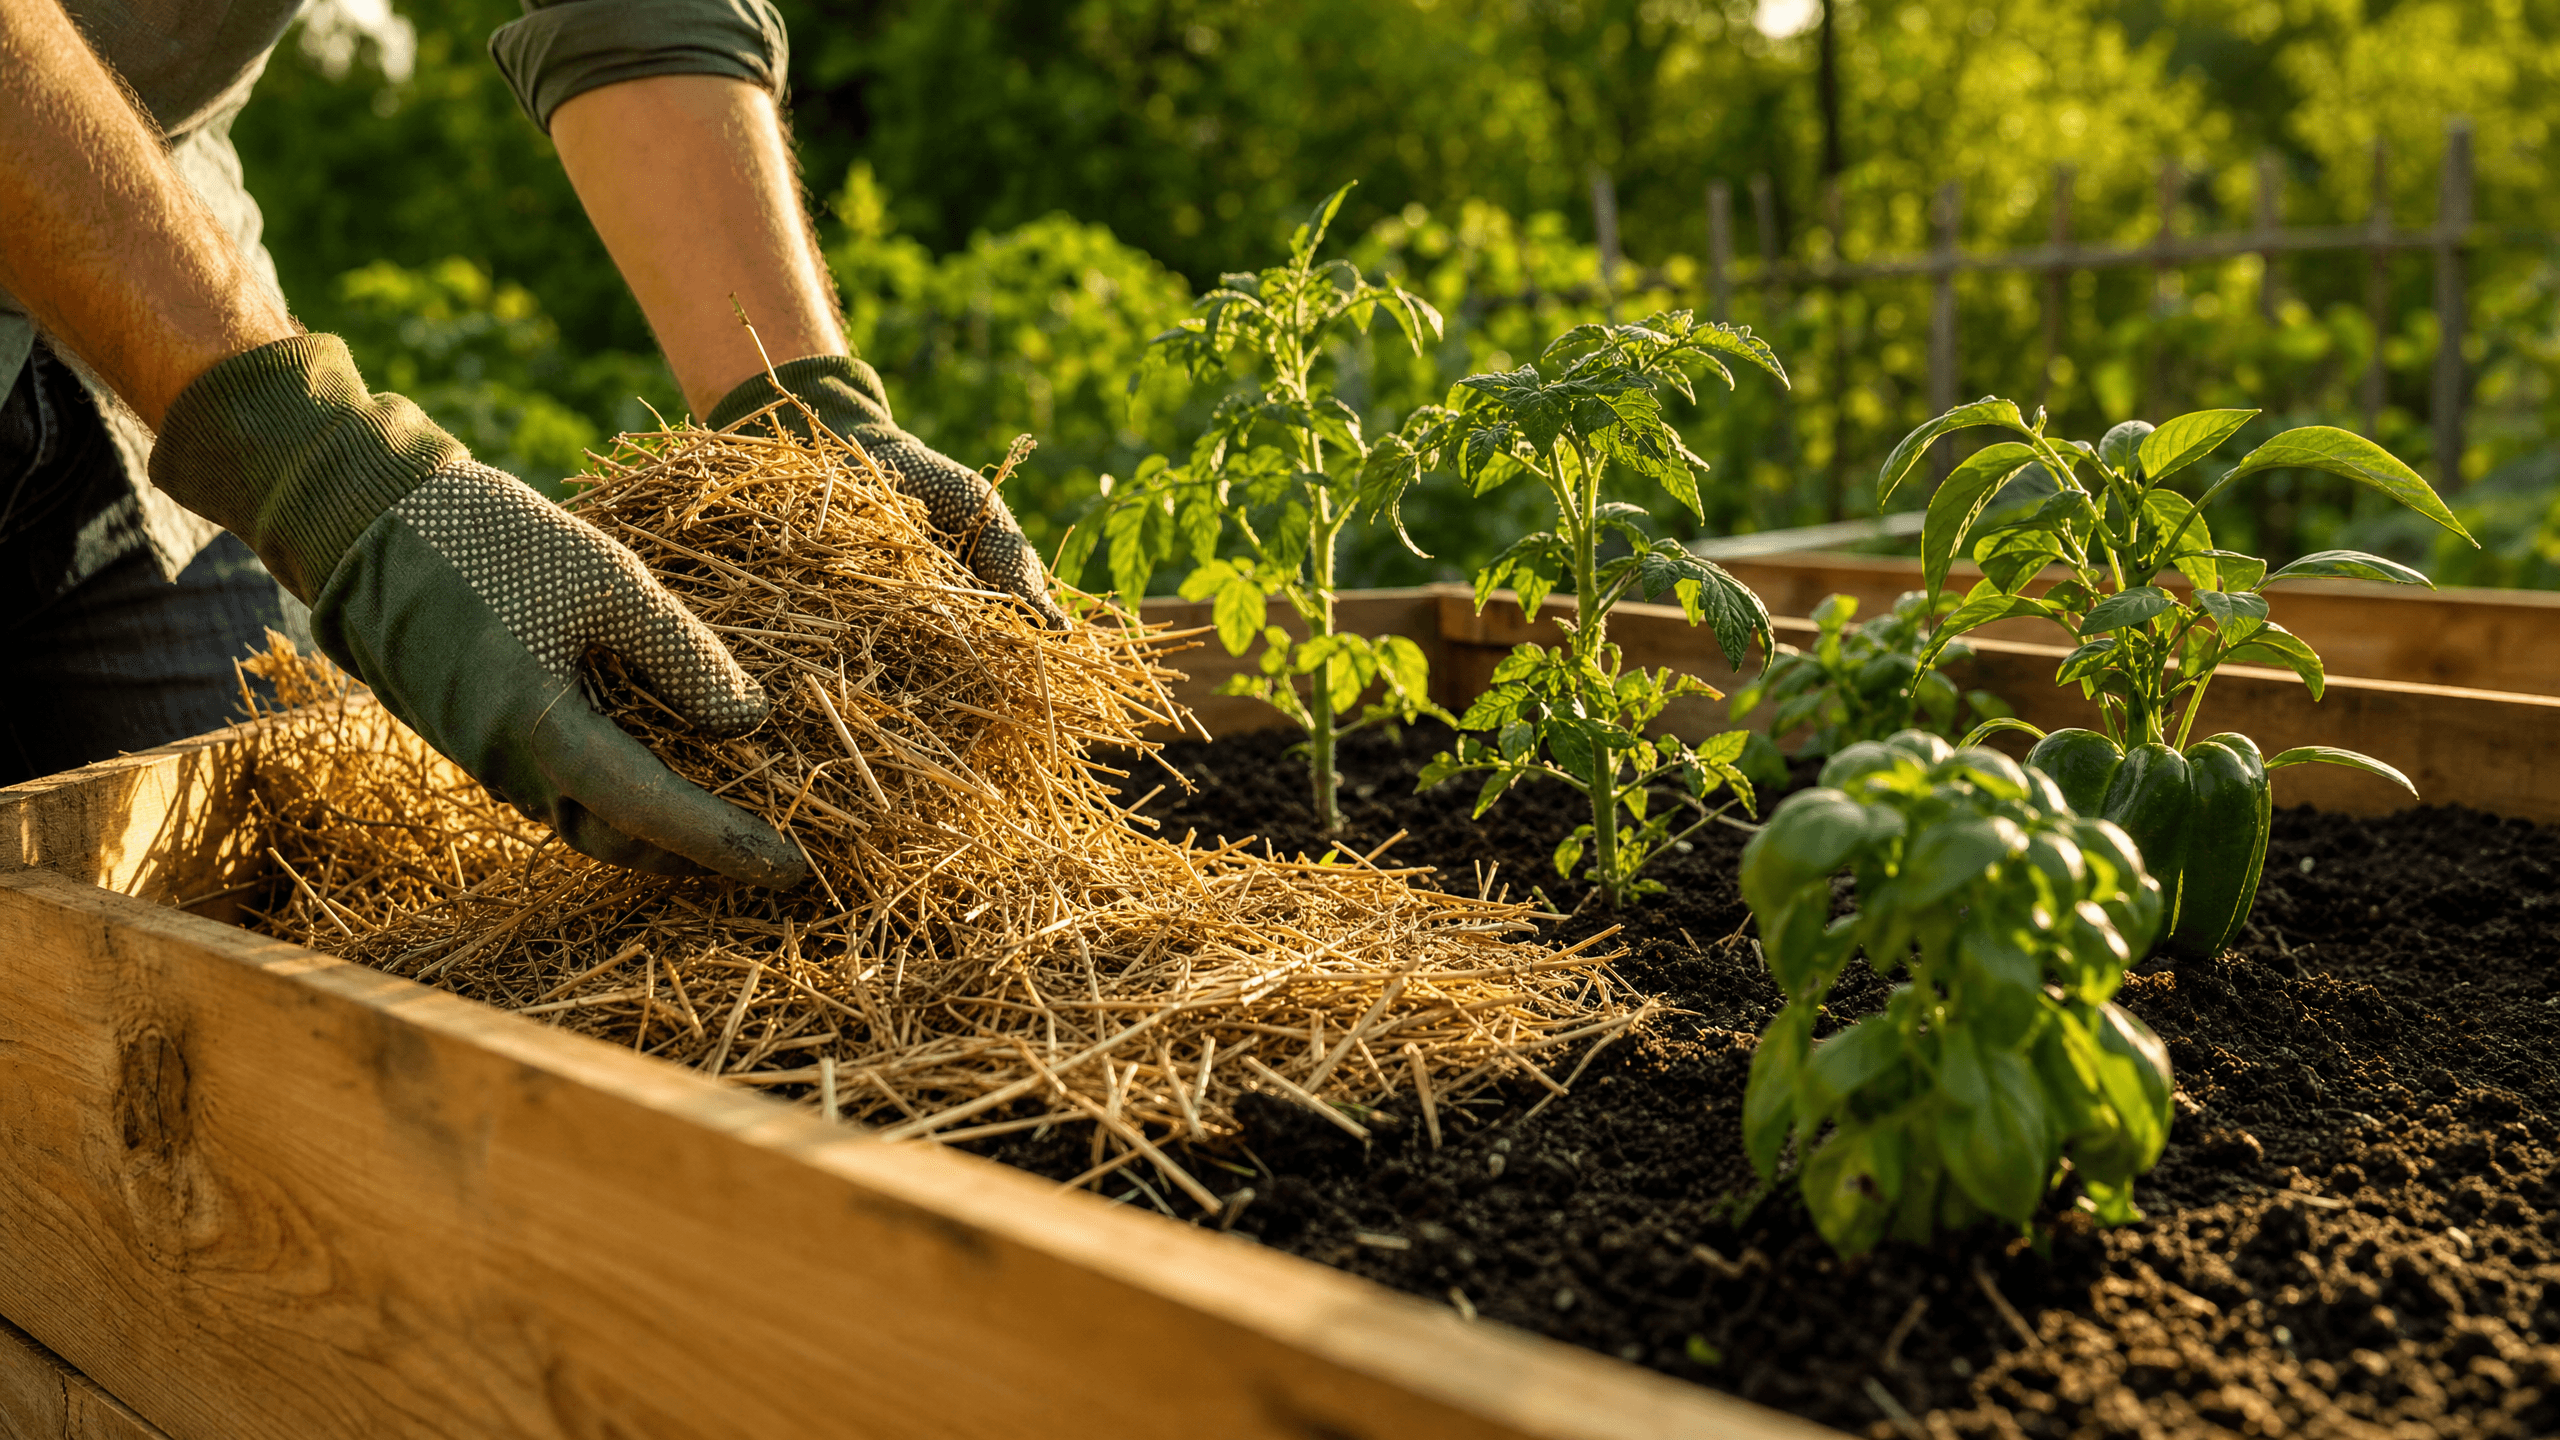
Mulch: The Finishing Touch
Don't skip the mulch! A 2-to-3-inch layer of organic mulch (like straw, shredded leaves, or untreated grass clippings) around the base of your newly planted tomatoes works wonders. It conserves soil moisture, suppresses weeds that compete for nutrients, and most importantly, prevents soil from splashing up onto the lower leaves during rainstorms, which is the primary way soil-borne blights infect tomato plants.
Mid-May is a busy, exciting time in the garden. By taking a little extra care with your tomato transplants now, you're laying the groundwork for those delicious, sun-warmed BLTs and fresh salsas come August. Happy planting!
---
Frequently Asked Questions
Q: Is it too late to plant tomatoes if I missed the mid-May window?
A: Not at all! Depending on your growing zone, you can often plant tomatoes well into June. Just look for varieties with a shorter "days to maturity" so you get a good harvest before the first fall frost.
Q: Should I water my tomatoes every day after transplanting?
A: For the first few days, keep the soil consistently moist to help them establish. After that, transition to deep, less frequent watering (e.g., 1-2 times a week depending on weather) to encourage those roots to grow deep into the soil.
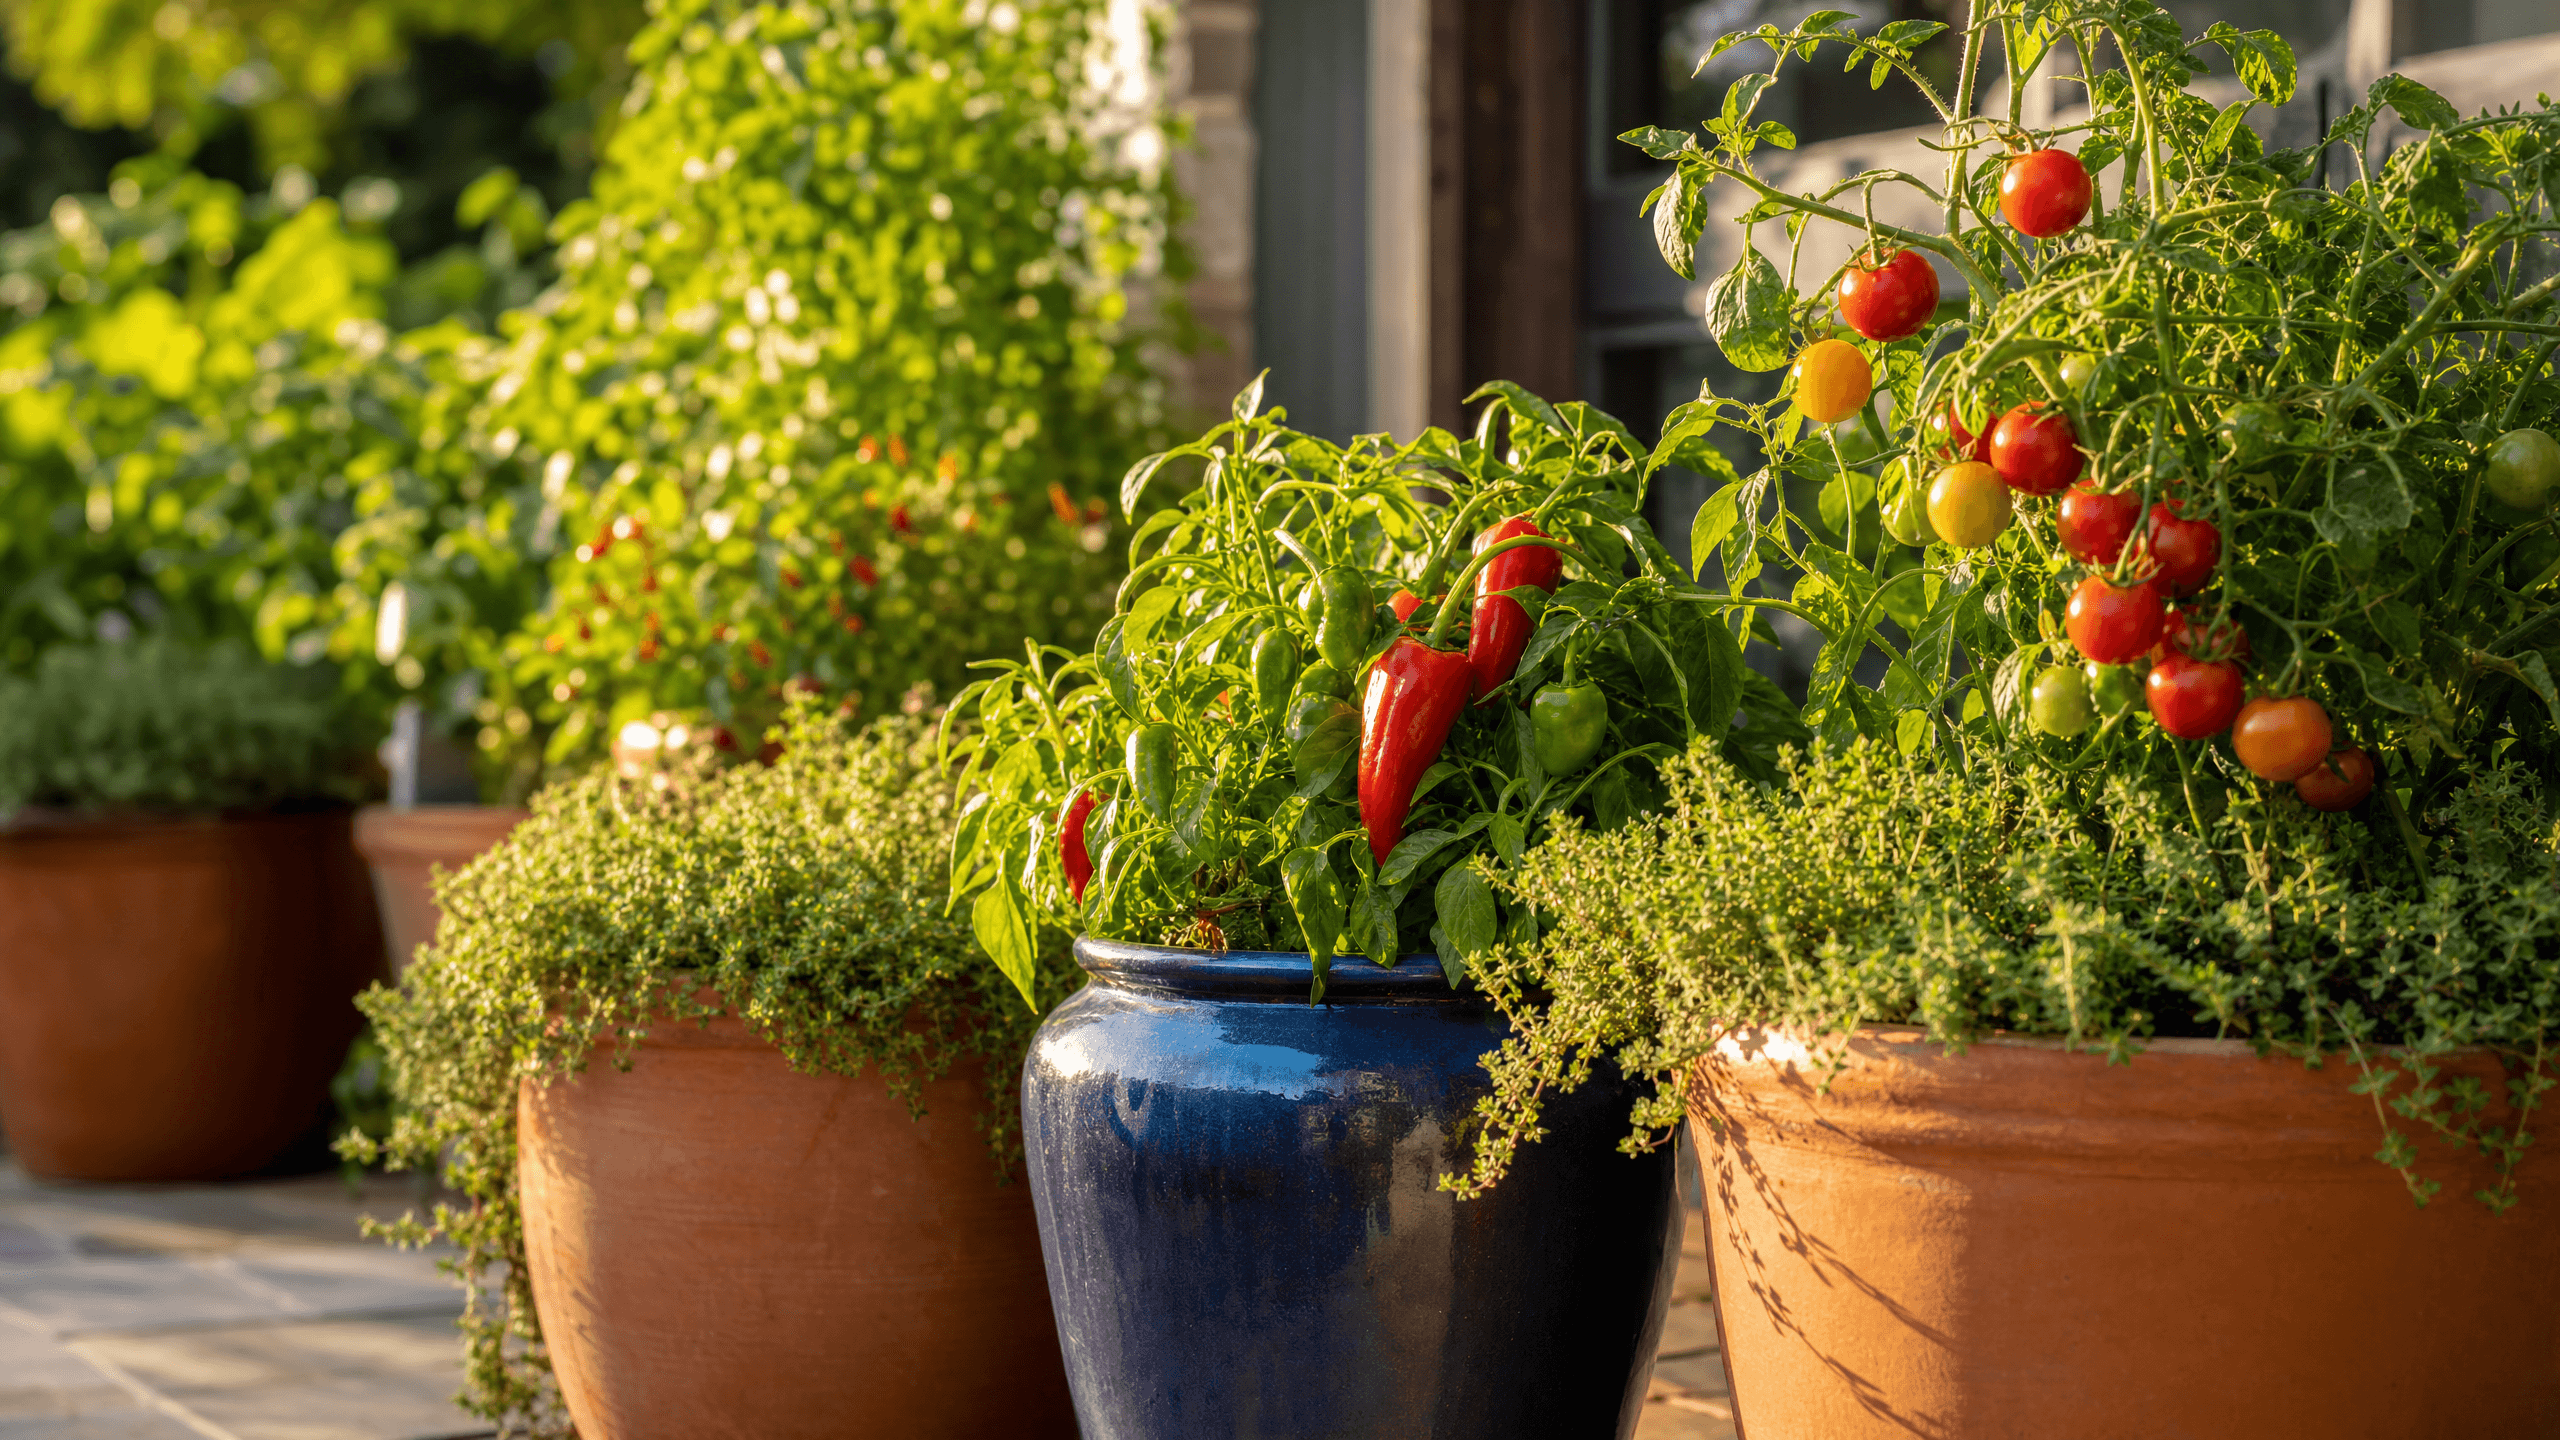
Q: What should I plant next to my tomatoes?
A: Basil, marigolds, and nasturtiums are excellent companion plants for tomatoes. They can help deter pests and, in the case of basil, some gardeners swear it improves the flavor of the tomatoes!
---
*Disclosure: As an Amazon Associate I earn from qualifying purchases. This means if you click on an affiliate link and purchase the item, we will receive an affiliate commission at no extra cost to you.*
Ready to Design?
Upload a photo of your space and get beautiful, personalized design ideas in seconds.
Keep reading

Seasonal planting reminders and expert guides — free.