Blog
How to Build a Rain Garden: Manage Runoff and Grow Beautiful Native Plants
A rain garden is one of the most rewarding eco-friendly projects you can add to your yard. Learn how to site, dig, and plant a stunning rain garden that handles stormwater runoff while attracting pollinators and wildlife.
2026-05-25
Hello, gardening friends! If you've ever watched a heavy rainstorm send water rushing off your driveway, down your lawn, and straight into the street, you've witnessed firsthand the problem that rain gardens are designed to solve. And if you've ever wished your yard could be more beautiful, more wildlife-friendly, and more environmentally responsible all at once — well, a rain garden is your answer.
A rain garden is simply a shallow, planted depression in your yard that is strategically placed to collect and absorb stormwater runoff from hard surfaces like roofs, driveways, and patios. Instead of that water rushing into storm drains (carrying lawn chemicals, pet waste, and other pollutants with it), it soaks slowly into the ground, recharging groundwater and filtering out impurities along the way. And the best part? Planted with the right native species, a rain garden becomes one of the most beautiful and low-maintenance features in your entire landscape.
Late spring — right now — is actually the ideal time to install a rain garden. The soil is workable, plants are available at nurseries, and you'll have the whole summer for your new garden to establish before the first frost.
Step 1: Find the Right Location
The most important rule of rain garden siting is this: keep it at least 10 feet away from your home's foundation. You do not want to direct water toward your basement. Similarly, avoid placing a rain garden over a septic system.
The ideal spot is a natural low point in your yard that already collects water, or a location downhill from a downspout, driveway, or patio. You want the water to flow naturally into the garden. A gentle slope of 1 to 12 percent is perfect — enough to direct water in, but not so steep that it erodes the garden.
Check your soil drainage before you dig. Dig a test hole about 6 inches deep, fill it with water, and see how long it takes to drain. If it drains within 24 to 48 hours, you have good drainage and a rain garden will work beautifully. If water is still sitting after 48 hours, you may need to amend the soil heavily with sand and compost, or choose a different location.
Step 2: Size It Right
A common rule of thumb is that your rain garden should be about 20 to 30 percent of the size of the area draining into it. So if your roof drains 200 square feet of water toward your yard, aim for a rain garden of about 40 to 60 square feet.
Don't be intimidated by the math — most residential rain gardens end up being somewhere between 50 and 150 square feet, which is a very manageable project for a weekend.
Step 3: Dig the Basin
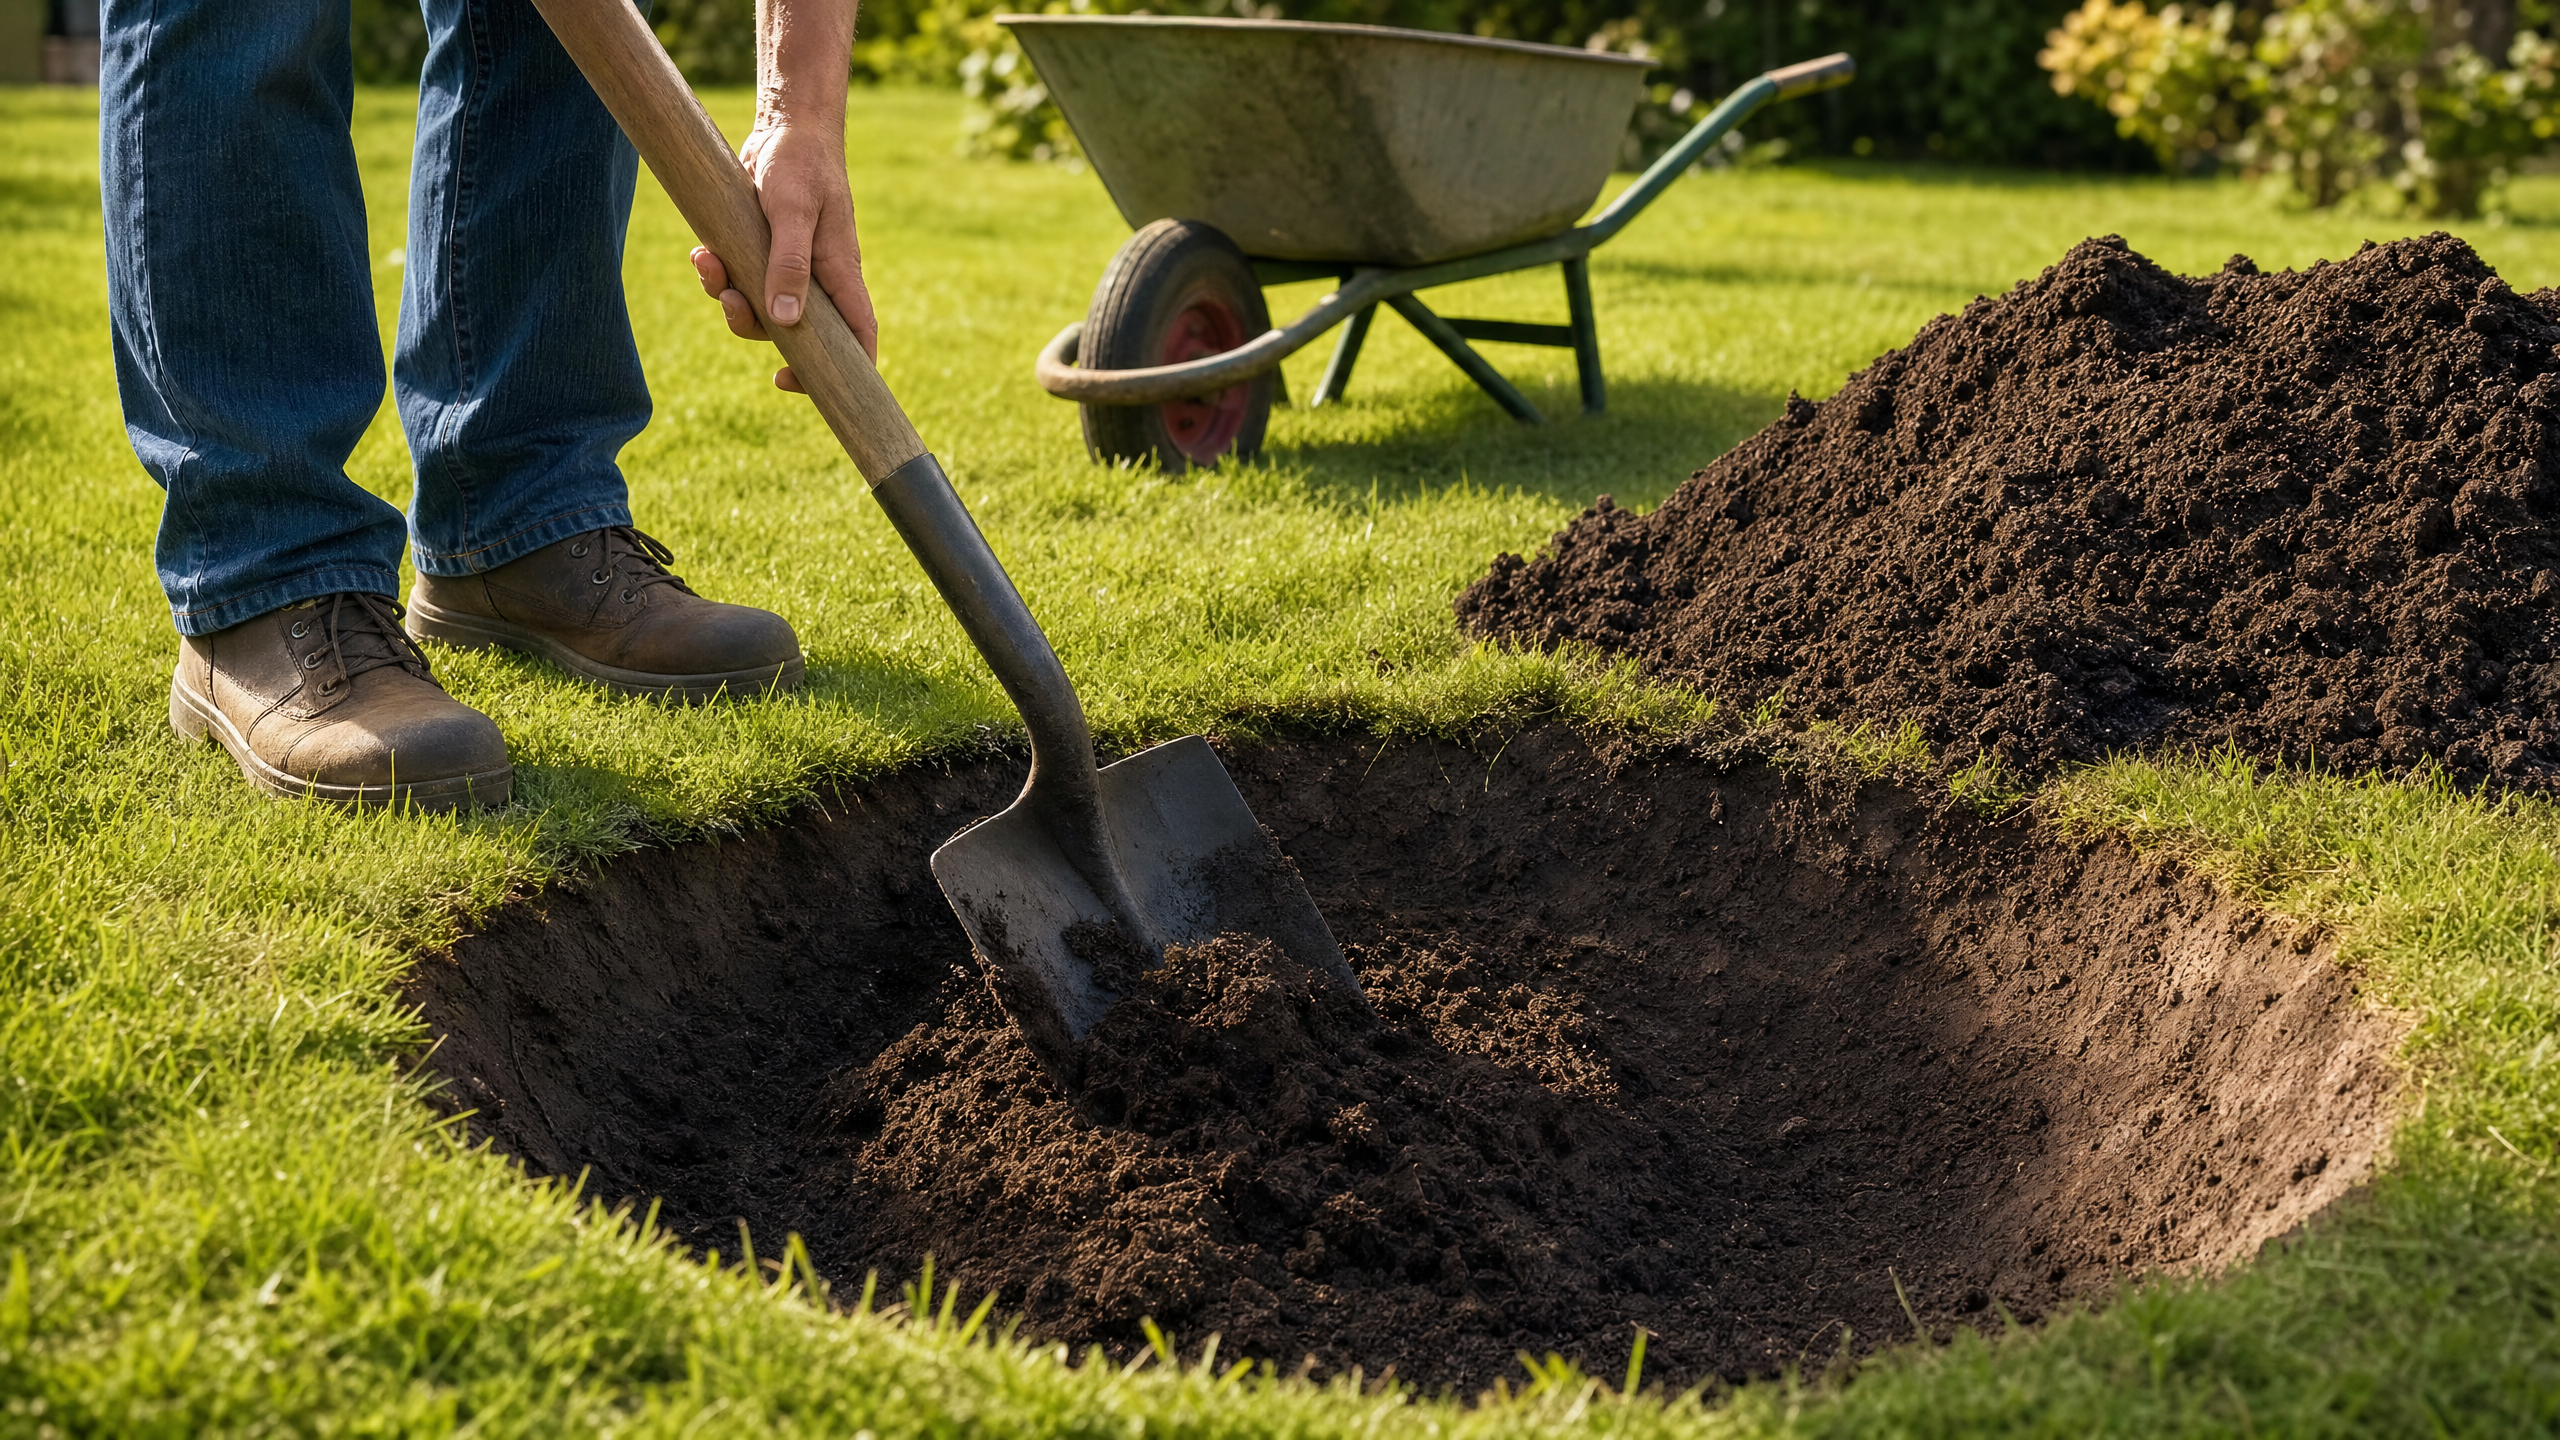
The rain garden basin should be about 4 to 8 inches deep, with gently sloping sides. The bottom of the basin should be as level as possible so water spreads evenly across the entire planting area rather than pooling in one corner.
As you dig, set the excavated soil aside. You'll use it to build a small berm (a low mound) on the downhill side of the garden. This berm is what holds the water in the basin long enough for it to soak in. Pack it firmly and plant it with grass or groundcover to prevent erosion.
A sturdy, long-handled spade is your best friend for this project. If you need a quality digging spade, you can Check Price on Amazon for some excellent options that will last for years.
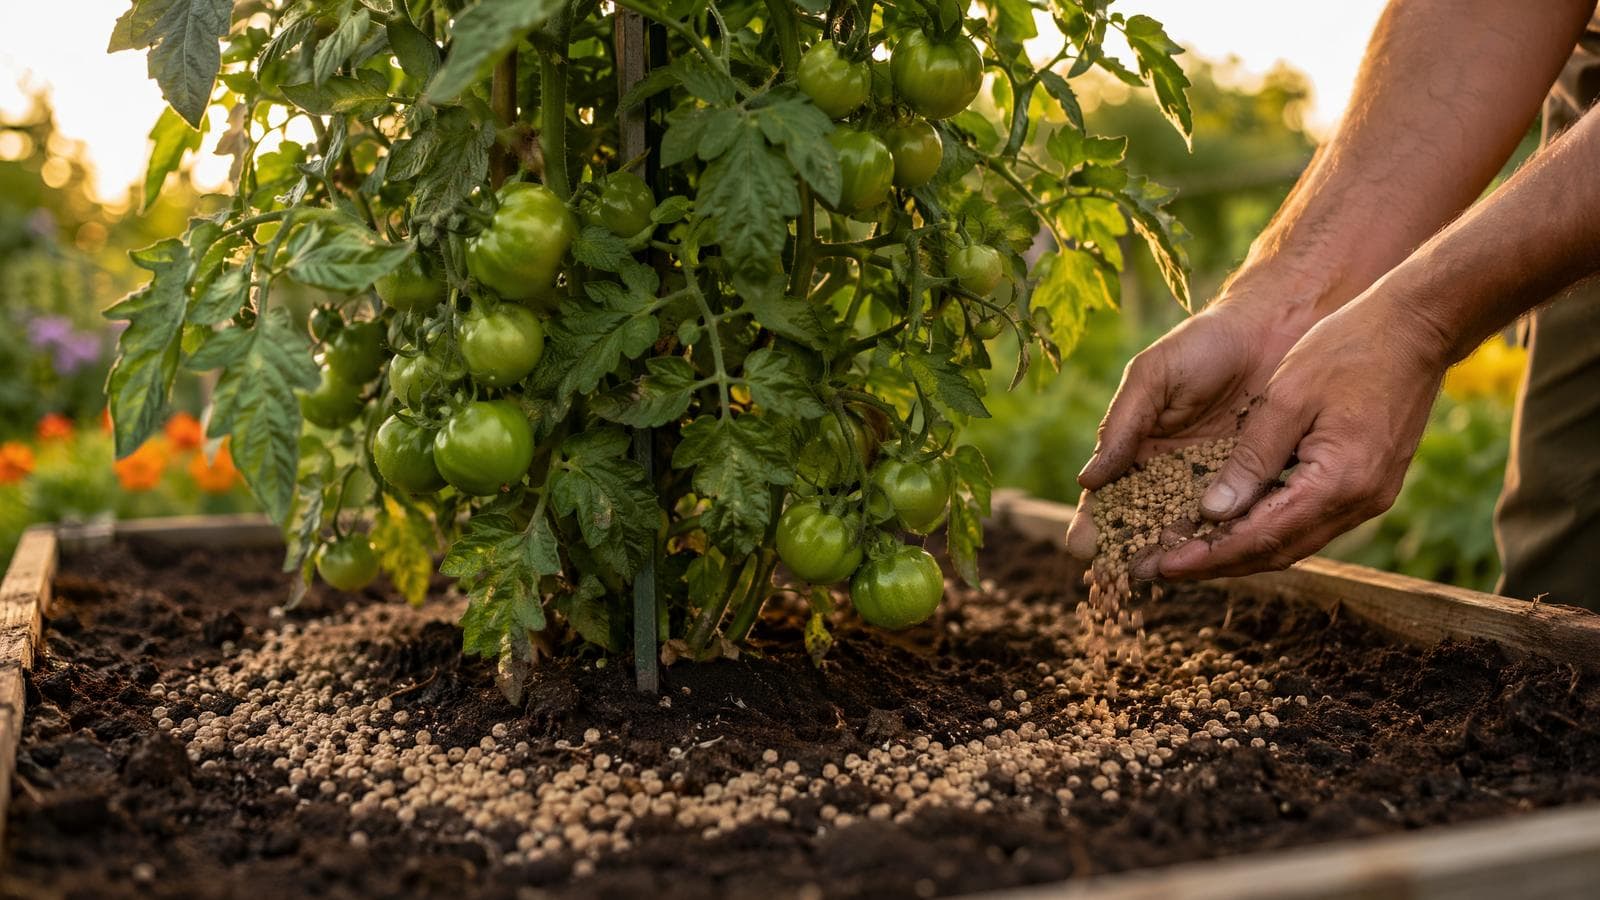
Step 4: Amend the Soil
The soil in the basin needs to drain well while still holding enough nutrients to support your plants. The ideal rain garden soil mix is roughly:
- 50% native soil from your site
- 25% coarse sand (not play sand — you want sharp, angular sand)
- 25% compost
Mix this together thoroughly in the basin. This blend will drain well enough to handle a heavy rain event but will still retain moisture during dry spells between storms.
Step 5: Choose Your Native Plants
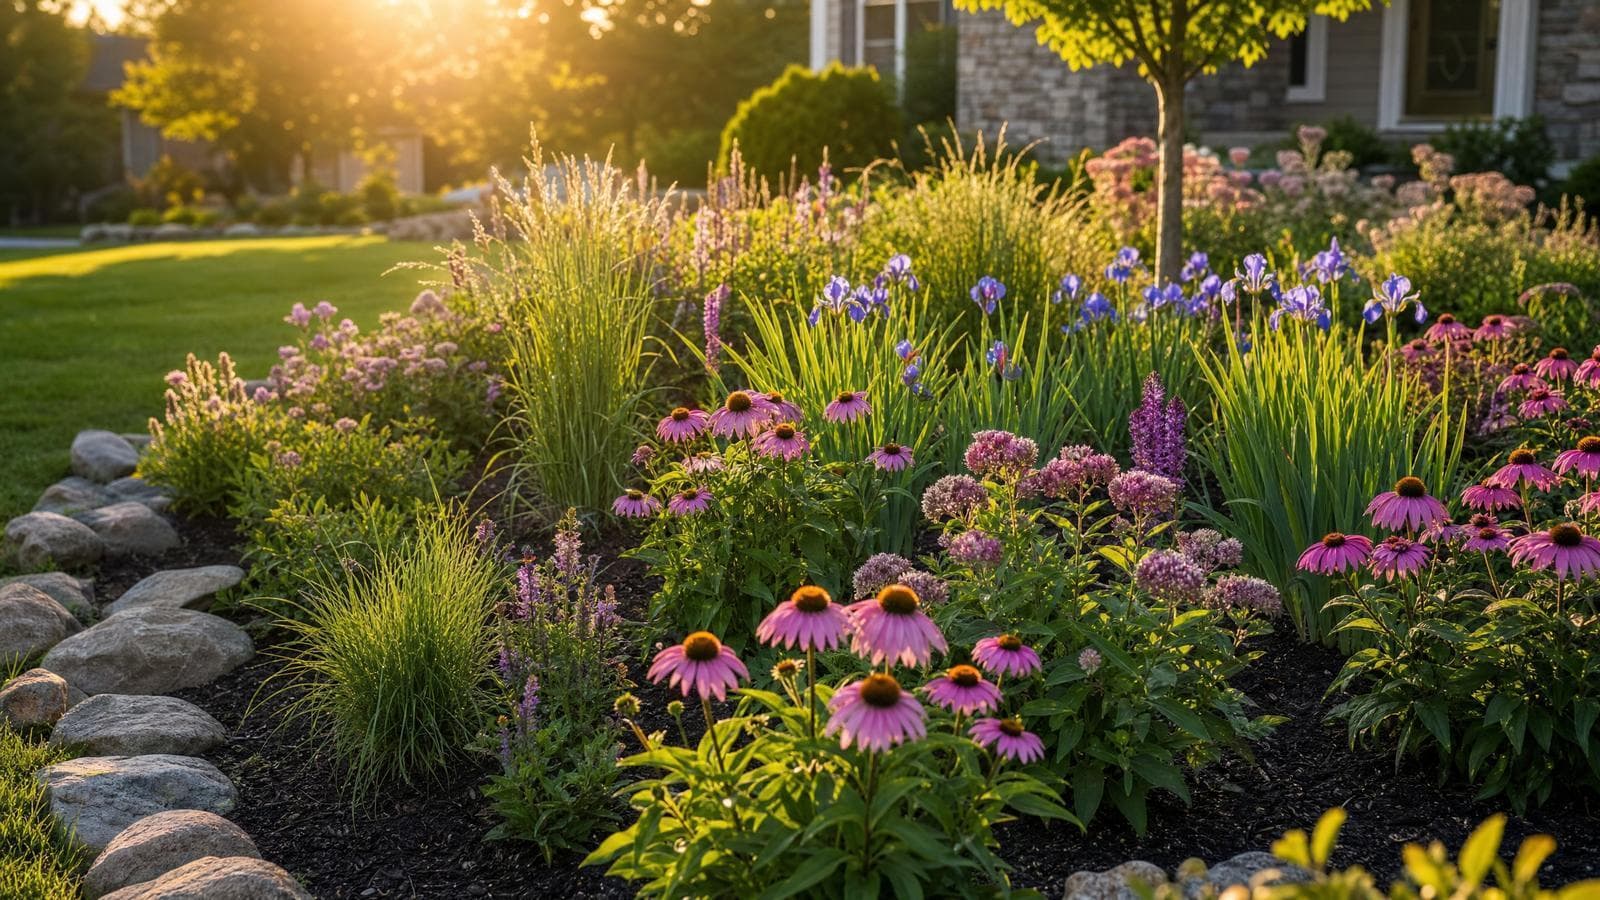
This is where the magic happens! Native plants are the absolute best choice for rain gardens because they have deep, extensive root systems that dramatically improve drainage and soil structure. They are also adapted to local rainfall patterns, meaning they can handle both the wet periods (when the garden fills) and the dry periods in between.
Plant your rain garden in three zones based on moisture tolerance:
The Wet Zone (Basin Center)
These plants will experience the most water and should be the most moisture-tolerant:
- Blue Flag Iris (*Iris versicolor*) — stunning purple blooms, loves wet feet
- Swamp Milkweed (*Asclepias incarnata*) — pink flowers, a monarch butterfly magnet
- Joe-Pye Weed (*Eutrochium purpureum*) — tall, majestic, beloved by pollinators
The Middle Zone (Basin Slopes)
These plants can handle occasional flooding but also tolerate drying out:
- Purple Coneflower (*Echinacea purpurea*) — a classic, beloved by bees and goldfinches
- Black-Eyed Susan (*Rudbeckia hirta*) — cheerful yellow blooms all summer long
- Little Bluestem Grass (*Schizachyrium scoparium*) — stunning fall color, excellent structure
The Dry Zone (Berm and Edges)
These plants sit at the highest point and should be drought-tolerant:
- Wild Bergamot (*Monarda fistulosa*) — lavender blooms, irresistible to hummingbirds
- Prairie Dropseed (*Sporobolus heterolepis*) — elegant, fine-textured grass
- Butterfly Weed (*Asclepias tuberosa*) — brilliant orange, a monarch favorite
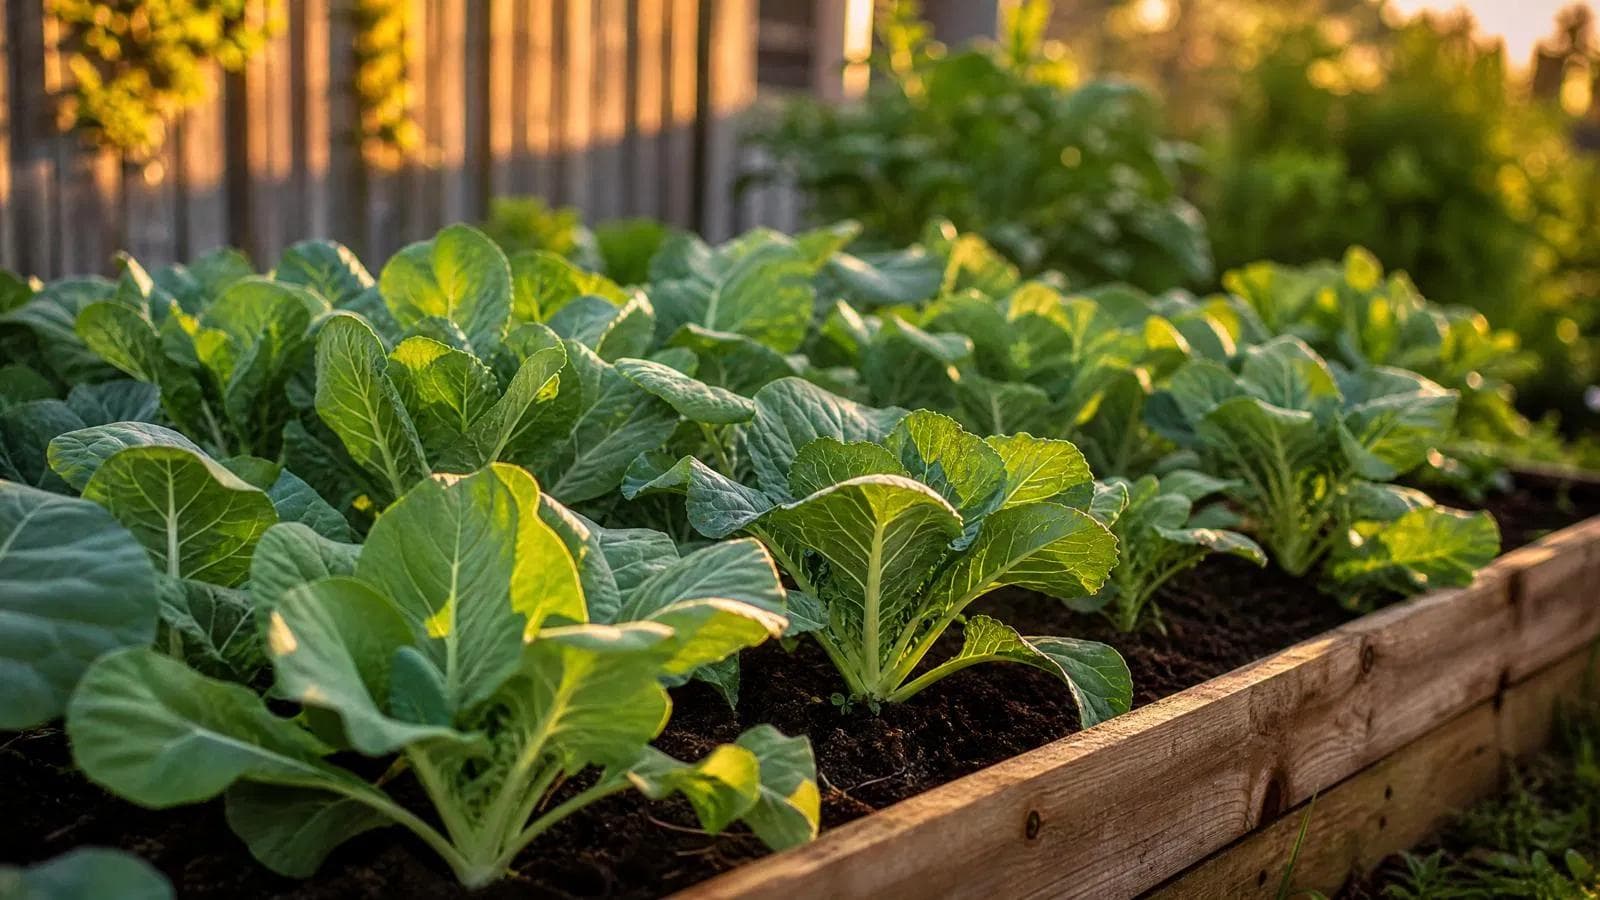
When planting, space your plants generously and mulch the entire basin with 2 to 3 inches of shredded hardwood mulch. This will suppress weeds, retain moisture, and look beautiful while your plants establish.
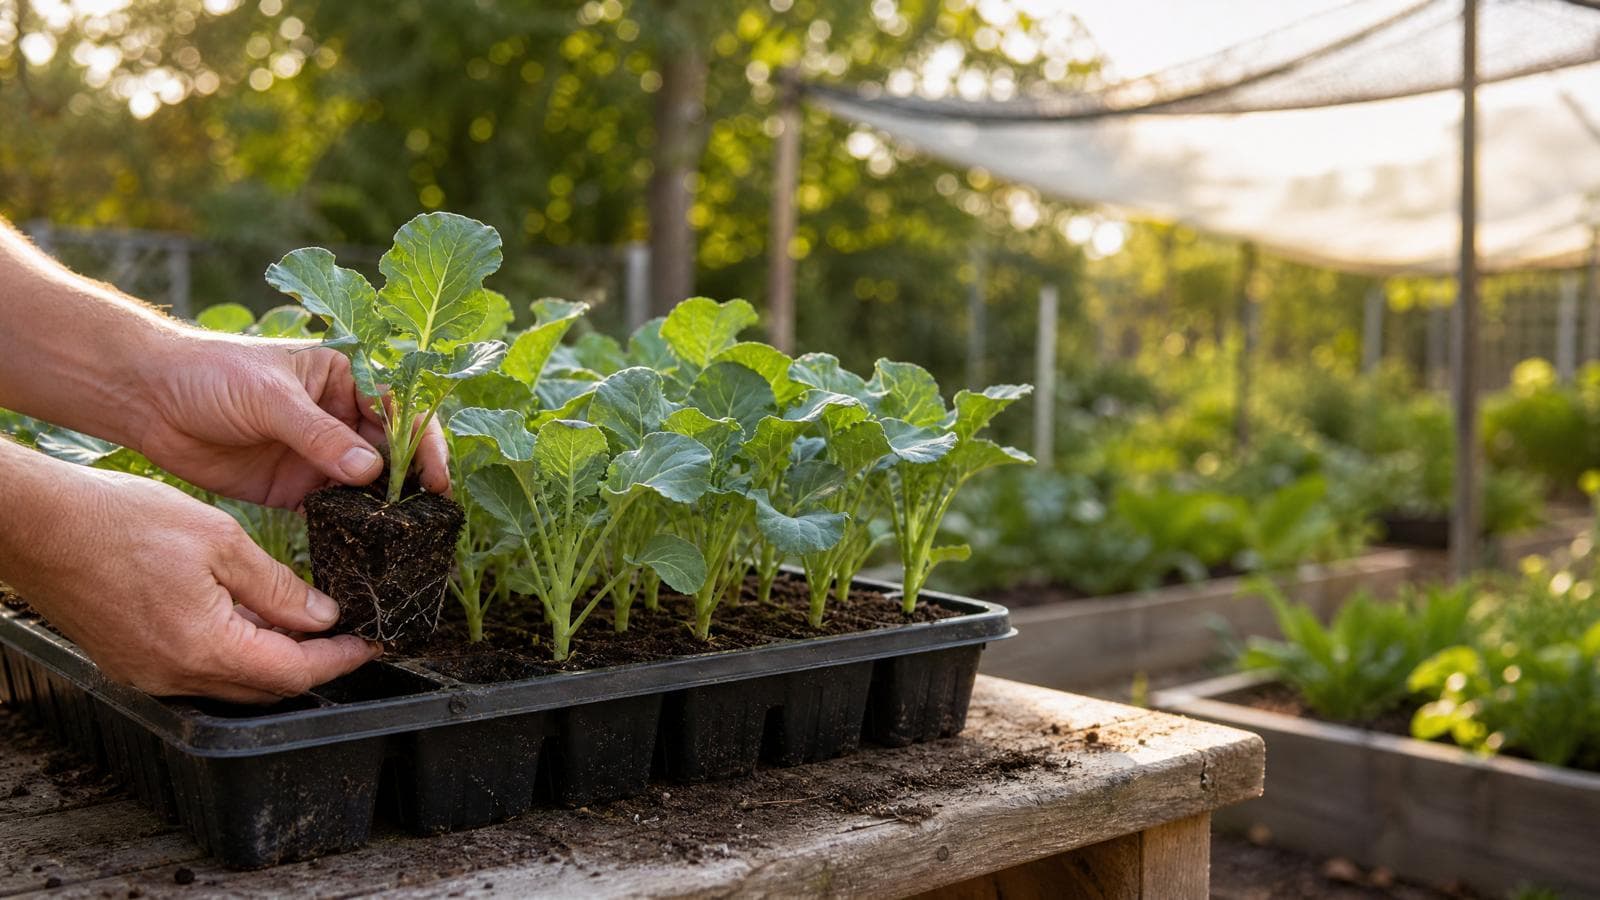
For a great selection of native plant plugs to get started, you can Check Price on Amazon.
Step 6: Create an Inlet and Overflow
Your rain garden needs a way for water to enter and a way for excess water to safely exit during very large storm events.
For the inlet, you can create a simple rock-lined channel (called a swale) from your downspout to the garden. Line it with river rock to slow the water and prevent erosion. A downspout diverter makes it easy to direct roof runoff into your swale. You can Check Price on Amazon for easy-to-install options.
For the overflow, create a low spot in the berm on the far side of the garden. Line this low spot with rocks so that if the garden fills completely during a very heavy storm, the water can exit slowly and safely without eroding the berm.
Maintenance: Easier Than You Think
The first year, you'll need to water your rain garden during dry spells to help the plants establish their root systems. After that, a well-planted native rain garden is remarkably self-sufficient.
Annual maintenance is minimal: cut back the dead stems in late winter (leaving some for overwintering beneficial insects), pull any weeds that appear, and refresh the mulch layer every year or two. That's really it!
Explore More Gardening Tools
A rain garden is just one beautiful way to make your yard work smarter. If you're looking for more ways to design and enhance your garden space, don't forget to check out our other resources!
- Want to visualize your rain garden before you dig? Try our Garden Designer to plan your layout.
- Have questions about which native plants work best in your region? Ask our AI Garden Chat for personalized advice.
- Looking for native plants, tools, and supplies? Browse our Shop for curated recommendations.
- Wondering what else to plant this month? Check our Plant This Month guide.
---
FAQ
Q: Will a rain garden attract mosquitoes?
A: This is the most common concern, and the good news is: no, not if it's designed properly. Mosquitoes need standing water for at least 7 to 10 days to complete their breeding cycle. A well-designed rain garden drains completely within 24 to 48 hours after a storm, which is not long enough for mosquitoes to breed.
Q: How much does it cost to build a rain garden?
A: A DIY rain garden can be surprisingly affordable. The main costs are plants, mulch, and any amendments you need to add to the soil. A modest 50-square-foot rain garden with native plants can often be completed for $150 to $400, depending on your plant choices and how much soil amendment is needed.
Q: Can I build a rain garden in a shady yard?
A: Absolutely! Many native plants thrive in shade. For shady rain gardens, consider Cardinal Flower (*Lobelia cardinalis*), Turtlehead (*Chelone glabra*), and various native ferns. The key is to match your plant selection to your specific light conditions.
Q: How long does it take for a rain garden to establish?
A: Most rain gardens look great by the end of their second growing season. The first year, plants focus on establishing their root systems and may not bloom as prolifically. By year two and three, they will fill in beautifully and begin to truly thrive.
---
*Disclaimer: As an Amazon Associate I earn from qualifying purchases.*
Ready to Design?
Upload a photo of your space and get beautiful, personalized design ideas in seconds.
Keep reading
Seasonal planting reminders and expert guides — free.